French stone wall repointing: pre-restoration checklist
A cracked joint in a Dordogne stone wall is not a cosmetic flaw—it is a failure in the structure's moisture management system. Water enters, freezes, and expands, prying apart stone and mortar from within.
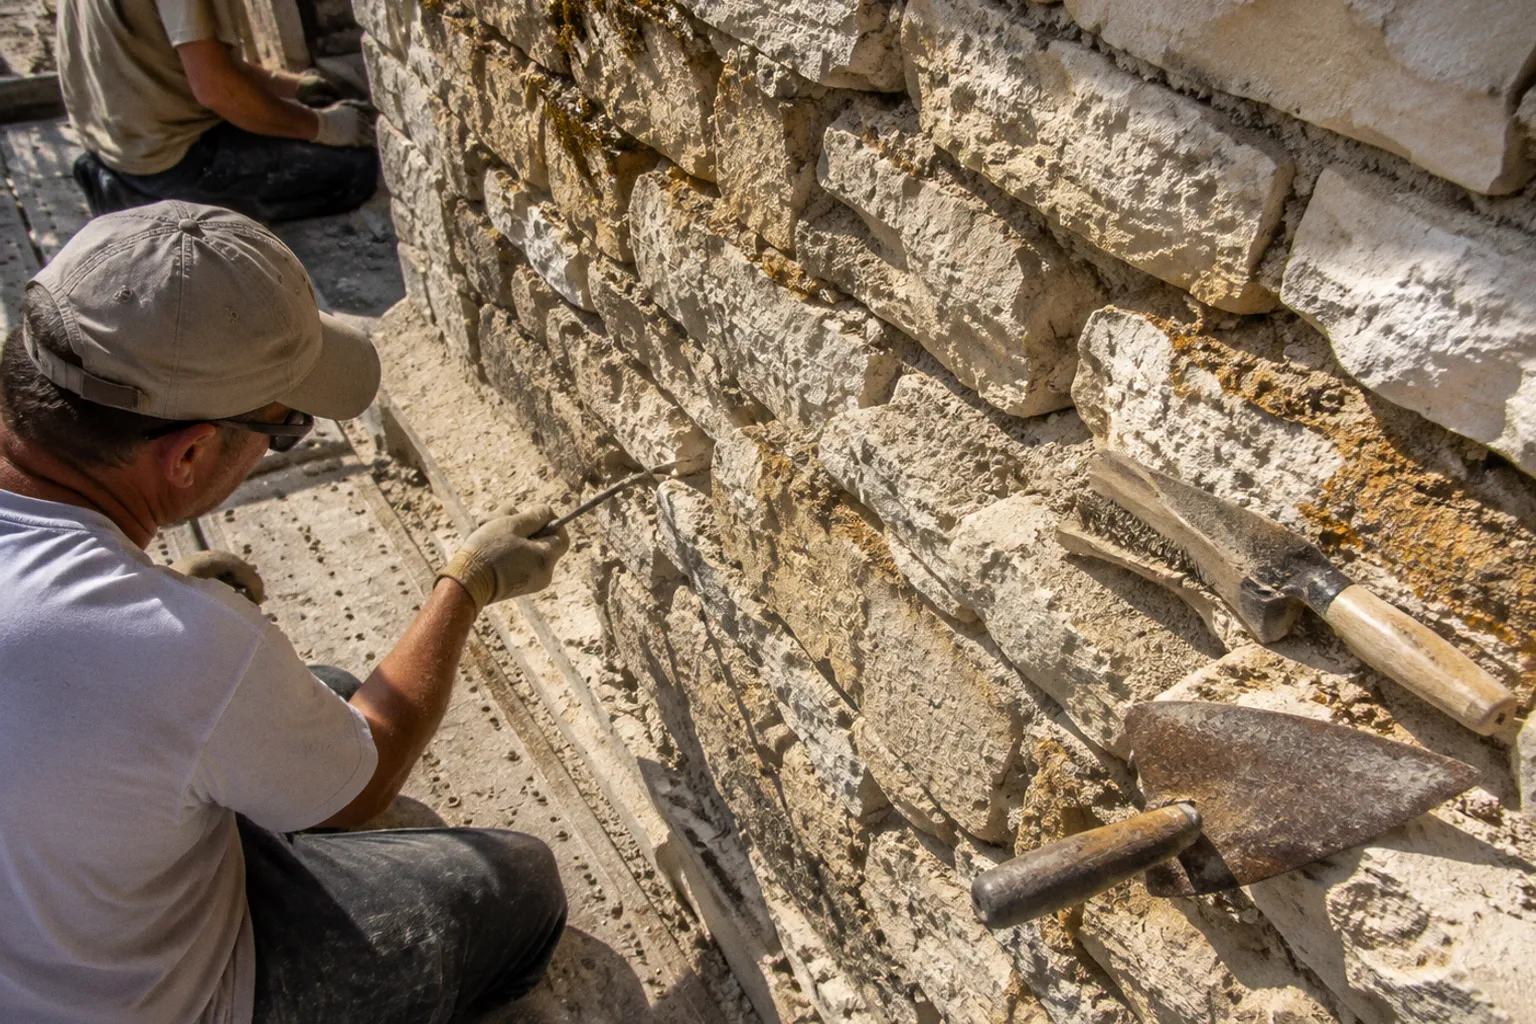
Your first operational assessment is not about aesthetics; it is about identifying these critical failure points before a single tool touches the surface. Proceed without this reconnaissance, and you risk compounding the damage.
This checklist is your mandatory pre-deployment sequence. Follow it in order. Each phase clears the path for the next, ensuring the restored wall will breathe, shed water, and endure.
1. Structural Assessment: The Non-Negotiable First Move
Before you plan your mortar mix, you must map the terrain. Identify and categorize all cracks and displacement.
- Map Active Fractures: Run a finger along each crack. Hairline surface cracks in the mortar are routine. A crack that steps from the mortar joint into the stone itself indicates structural movement. A crack wider than 5mm that follows the foundation line demands immediate halt and consultation with a structural engineer. No exceptions.
- Check for Bulging or Leaning: Sight along the wall face from each end. Any inward or outward bulge suggests compromised structural integrity behind the veneer. This is not a repointing project; it is a rebuild scenario.
- Probe for Soundness: Use a rubber mallet to gently tap the wall surface and the mortar joints. A solid, high-pitched ring is acceptable. A dull thud indicates voids or delamination between layers of stone and mortar. Mark these zones—they require full excavation and repacking, not just surface repointing.
"You are not restoring a surface. You are reinforcing a structural envelope. Assess the skeleton before you touch the skin."
2. Safe Removal: Extracting Failing Material
Your objective is to remove all compromised mortar and any inappropriate cement render to a clean, sound substrate. Aggressive action here will damage the historic stone.
Tool Loadout & Technique
- Primary Tool for Mortar Joints: Use a dedicated mortar raker or a chisel and hammer. Avoid angle grinders—their indiscriminate cutting will score and weaken the soft limestone. Your target depth is 10mm to 30mm, or until you reach sound mortar. Never exceed twice the joint's width.
- Neutralizing Cement Render: Hard Portland cement render is a toxic layer on historic walls. It traps moisture, forcing it to escape through the softer stone, causing spalling. Remove it with a small pneumatic needle scaler set to a low pressure, or with extreme patience using a chisel. The goal is clean stone, not scarred stone.
- Direction of Attack: Work from the top down. Gravity assists in clearing debris. Never work on multiple elevation zones simultaneously; falling rubble is a primary hazard.
Tool Comparison: Safe Extraction vs. Risky Shortcut
| Task | Recommended Approach (Low Risk) | High-Risk Alternative (Avoid) |
|---|---|---|
| Mortar Joint Removal | Hand raker or chisel & hammer to 10-30mm depth. | Angle grinder or circular saw with diamond blade. |
| Cement Render Removal | Pneumatic needle scaler (low PSI) or hand chisel. | Heavy-duty rotary hammer drill with wide chisel. |
| Debris Clearance | Compressed air nozzle directed into the joint. | High-pressure water washer at close range on soft stone. |
3. Deep Cleaning: Creating a Bond-Ready Channel
Once old material is excavated, the joint must be immaculate for the new lime mortar to bond. This is a dust and debris management operation.
1. Mechanical Scrub: Use stiff, non-metallic bristle brushes (or brass brushes for extreme deposits) to scrub the interior of the raked joints. Dislodge all loose particles.
2. Dust Extraction: This is a critical phase. Use compressed air or a garden leaf blower on a low setting to blow dust out of the joint channel. Direct the airflow from the back of the joint outward. Wear respiratory protection—silicosis is a real risk with old mortar dust.
3. Final Flush (If Necessary): If heavy residues remain, a light misting with a garden sprayer can help. However, high-pressure washing should be reserved only for extremely soiled surfaces and must be done at a significant distance to avoid driving water deep into the wall or eroding soft stone.
4. Saturation: The Critical Pre-Mortar Dampening
Lime mortar cures through a chemical reaction called carbonation, which requires a slow, even loss of moisture. Dry, porous stone will suck the water out of the fresh mortar mix, causing it to shrink, crack, and fail to bond—the single most common preparation failure.
- The Protocol: After cleaning and allowing the wall to air dry for a few hours, begin dampening. Soak the entire wall area to be repointed with clean water. Use a hose with a fine spray or a garden sprayer. Apply enough water so the stone is visibly damp but not running with streams.
- Timing is Everything: The wall should be saturated surface-dry (SSD) at the moment you apply mortar. This means the pores are full of water, the surface has no sheen, and feels cool and damp to the touch. On a warm day, you may need to re-dampen sections every 15-30 minutes. The wall must never be bone dry or waterlogged when you begin pointing.
5. Mortar Selection: Formulating the Correct Mix
Using the wrong mortar is a retroactive failure. Modern Portland cement is rigid, impermeable, and will destroy historic stone. Your mortar must be softer and more breathable than the surrounding masonry.
Material Specifications
- Binder: Natural Hydraulic Lime (NHL 3.5) is the standard for most exterior above-grade Dordogne stonework. It offers a balance of initial set and long-term flexibility. For interior work or sheltered areas, non-hydraulic lime putty may be appropriate.
- Aggregate: Use clean, sharp, well-graded local sand. Avoid rounded river sand or sea sand (salt contamination). The sand provides the body; the lime provides the bond.
- Mix Ratio (by volume): A proven starting point is 1 part NHL 3.5 to 3 parts sharp sand (1:3). Adjust slightly based on sand coarseness—the mix should be cohesive and stick to the trowel without excessive sloppiness. It should not be gritty or dry.
Mortar Workability Window: The 2-3 Hour Rule
Mixed lime mortar has a limited working time before it begins to stiffen. Mix only what you can comfortably place within 2 to 3 hours. In direct sun or wind, this window shortens drastically. Stiffened mortar must be discarded; do not re-temper it with water, as this breaks the chemical bond and weakens the final product.
Mission Completion
The wall is now a prepared substrate: structurally assessed, cleaned to a sound face, saturated to its core, and waiting for the correct compatible mortar. You have followed the reconnaissance, the extraction, the site clearance, and the logistics of hydration. The final phase—packing the joints—requires the same disciplined technique. Tamp the mortar firmly into the joint in layers, avoiding air pockets. Shape it slightly recessed from the stone face to shed water. Protect the fresh mortar from sun, wind, and frost for at least 72 hours with hessian or breathable fabric.
Your gear checklist is not complete until the job is done. Final inspection: no hollow spots, proper joint profile, and a wall that is uniformly damp. The wall is ready to stand for another century.