French lime plaster: common restoration traps to avoid
When a historic French stone house is being prepared for another season of guests, the most expensive restoration mistake is often hidden behind a perfectly smooth wall.
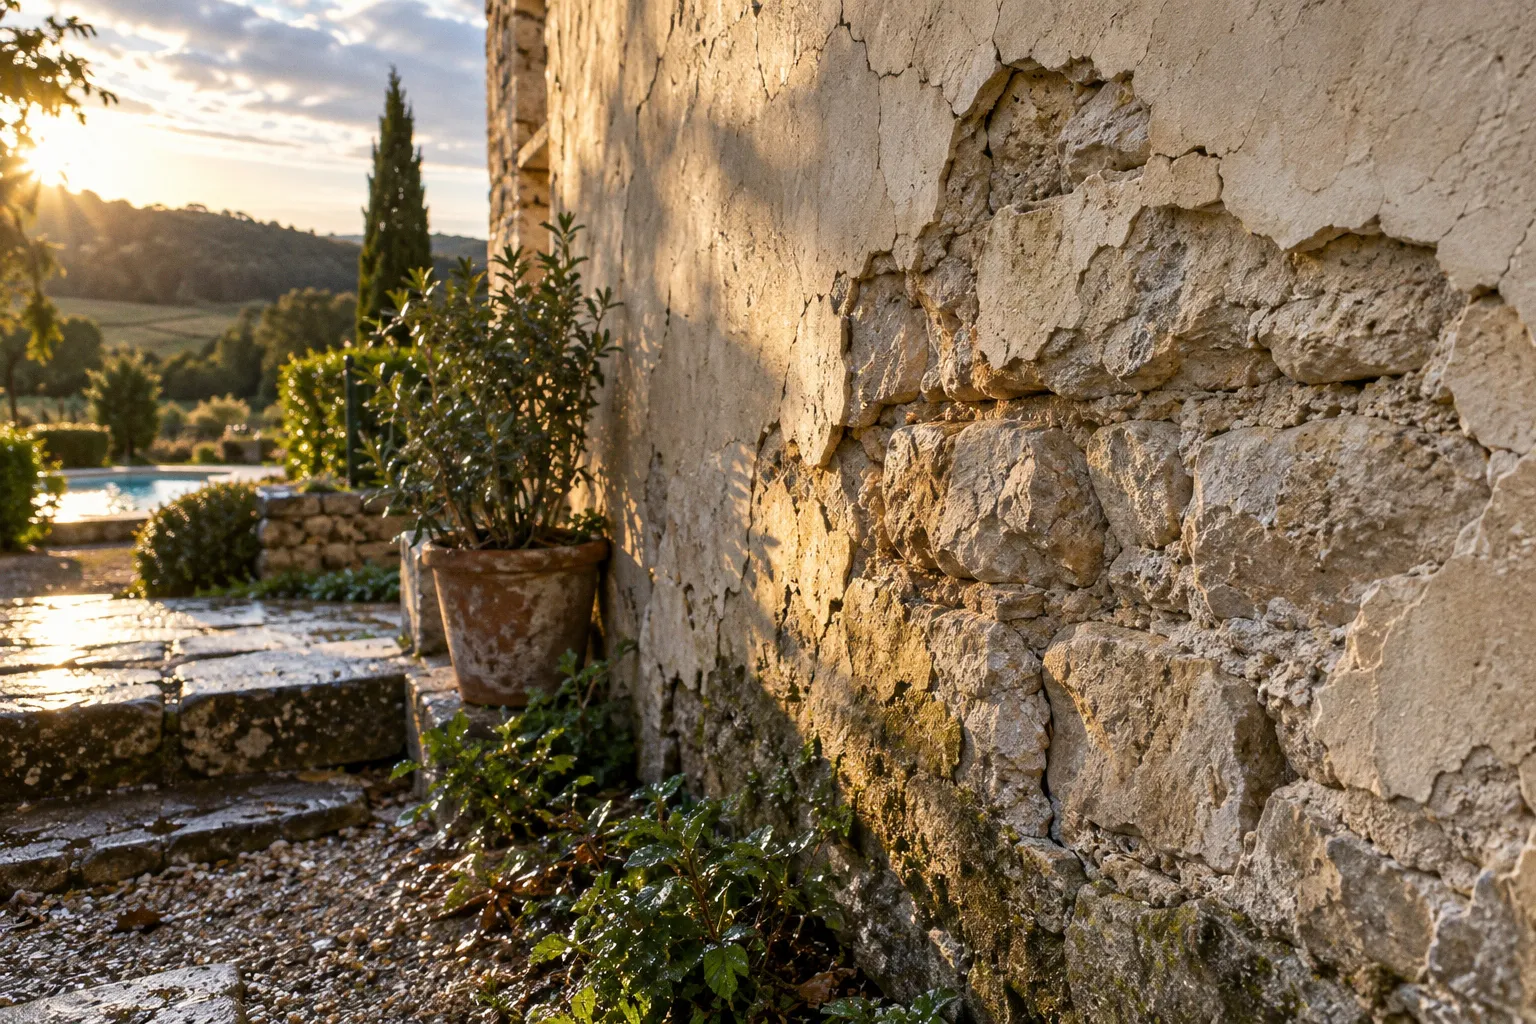
A cement-rich repair may look tidy when it is finished, yet within a few wet winters it can begin trapping moisture, pushing salts to the surface and breaking the face of soft stone or brick.
This is why French lime plaster restoration common mistakes are rarely about colour or texture alone. They are usually mistakes of breathability, timing and material compatibility. An old wall has its own moisture rhythm, and the repair must work with that rhythm rather than sealing it away.
For a gîte, this matters twice over. The wall must remain structurally healthy, but it also needs to handle changing occupancy, cooking steam, open windows, heating and the repeated seasonal cycle of a property that may be quiet in winter and full again by summer. Traditional lime is not simply an old-fashioned finish chosen for appearance. It is part of how the building manages moisture.
The breathability trap: why cement and gypsum damage old walls
The most common misconception is that a harder material makes a better repair. In modern construction, a strong, dense surface can be an advantage. On a historic stone property, particularly one built with porous stone or soft brick, it can become a liability.
Traditional lime plaster and mortar are comparatively permeable. Moisture can move through the wall and evaporate gradually from the surface. Portland cement and gypsum behave differently. Used on historic masonry, they can restrict that movement and hold moisture inside the wall. The result is not always immediate. The finish may remain intact for a period, which makes the choice appear successful, until salts begin to migrate, the masonry starts to deteriorate and cracks develop through the repair.
This is the central distinction in the question of lime mortar versus cement for old houses: the strongest product is not automatically the most suitable product. A repair mortar should be compatible with the wall beneath it, including its porosity, movement and exposure to weather.
What trapped moisture does
Moisture rarely announces itself in a convenient, isolated patch. It may show as:
- salts appearing as pale deposits on the surface;
- bubbling or blistering beneath a painted finish;
- cracking around joints and changes in material;
- fragments of soft stone breaking away beneath a hard render;
- dampness that returns even after the room has been heated and ventilated.
When cement is harder and less permeable than the surrounding historic masonry, the wall may begin to sacrifice its softer material instead. In practical terms, the repair survives while the stone suffers. That is a poor yield from any restoration budget, especially where exposed elevations, barn conversions and outbuildings are concerned.
Gypsum presents a similar problem when used in the wrong setting. It is designed for a different moisture environment and a different kind of substrate. Historic exterior walls need a finish that can tolerate weathering and allow the masonry to breathe. A product that performs well on a dry modern interior wall should not automatically be transferred to an old French façade.
On a historic wall, compatibility matters more than hardness: the repair should be willing to move moisture, not imprison it.
This does not mean that every surface in an old property must be stripped back to bare stone, nor that lime is a magical solution for every damp problem. Rising damp, failed drainage, leaking gutters and poor ground levels still need to be addressed at source. Lime plaster cannot compensate for water entering through a broken roof or being directed against the base of a wall.
The useful starting question is therefore not, “Which finish will look most solid?” It is, “How did this wall traditionally receive and release moisture, and what has changed since then?”
The curing process is part of the material
Lime plaster does not cure in the same way as cement or modern gypsum plaster. It carbonates gradually through contact with ambient air. This is one reason traditional French plastering techniques demand patience: the work is not finished when the trowel leaves the wall.
The surface must be protected while the lime develops. If the plaster dries too quickly, it can shrink aggressively and produce severe cracking. Sun, wind, low humidity and strong air movement all shorten the useful working window. A south-facing wall in a dry spell may need more attention than a shaded interior elevation, even when both were plastered on the same day.
The minimum moist-curing period in the available technical guidance is seven to ten days. That does not mean flooding the surface or leaving it visibly wet. It means maintaining enough surface moisture to slow the early drying process and allow carbonation to proceed without the plaster losing water too rapidly.
Why rushing causes cracks
Lime plaster needs time to settle into the wall and develop its finish. If the outer layer dries before the material beneath it has stabilised, different parts of the coat shrink at different rates. The surface may then show:
- long shrinkage cracks;
- a network of fine lines;
- weak or powdery areas;
- uneven colour after painting or limewashing;
- edges that curl or detach around repairs.
The temptation to accelerate the process is understandable. Restoration work often sits between trades, weather windows and the arrival of guests. A room needs to be returned to service, or a façade needs to be completed before autumn rain. Yet forced drying usually exchanges a short delay for a longer repair.
Heaters, strong fans and direct sun can create a dry surface while the body of the plaster remains less stable. This is particularly risky on a thick repair or on a wall with varying porosity, where one patch absorbs and dries differently from the next.
A better working rhythm is to plan the plastering around moderate conditions, protect the surface from harsh exposure and keep it lightly misted as it cures. The precise method depends on the mix, thickness, substrate and local weather, but the principle remains constant: lime needs time, air and controlled moisture.
Substrate preparation decides whether the finish survives
Many failures attributed to the lime mix actually begin before the lime is applied. A porous basecoat can draw water from the fresh finish too quickly, leaving the upper layer short of the moisture it needs. This produces craze cracking: a web of fine, hairline cracks across the surface.
The visual pattern can be deceptively delicate. It may look like a minor cosmetic issue, but it tells you that the finish has dried under stress. Once painted, these fine lines can become more visible rather than less, especially under a pale mineral finish.
Before applying a fresh coat, the basecoat should be misted with water so that it is damp but not saturated. The purpose is not to create a wet film between the layers. It is to reduce the speed at which the basecoat pulls moisture from the new plaster.
This is one of the least glamorous parts of repairing historic lime walls, but it has a direct effect on the final result. The wall’s absorbency must be managed rather than ignored.
Read the wall before mixing
A practical inspection should establish:
1. What the existing surface is made from.
Cement, gypsum, old lime, paint and patching compounds do not behave in the same way. A hard modern skim over soft masonry is a warning sign, not a reliable base.
2. Where the wall is most absorbent.
Exposed stone, old joints and repaired sections may take up water at different rates. A single preparation method may not suit the entire elevation.
3. Whether the source of damp has been corrected.
Replastering over active leaks or defective drainage only hides the symptom temporarily.
4. Whether the surface is stable enough to receive another coat.
Loose material, dusty areas and friable joints need careful treatment before the finish is applied.
5. What the weather will do during the curing period.
A stable forecast is part of the material selection, because lime plaster is highly dependent on its early environment.
The standard lime-to-sand or aggregate proportion often used as a starting point is 1:3, but the exact aggregate composition varies by region, quarry and application. There is no single universal mix that belongs to every French département. A sheltered interior wall, a weather-facing façade and a soft-brick partition each place different demands on the plaster.
That regional variation is one reason an experienced practitioner will discuss the sand as carefully as the lime. Grain size, cleanliness, colour and absorbency influence the texture and drying behaviour. A locally appropriate aggregate can also help the new work sit more naturally beside historic masonry than a uniform industrial sand chosen only for convenience.
Trowel technique: the danger of trying to perfect the surface
Fresh lime plaster invites attention. As it begins to firm, the surface may show a shallow mark, a small ridge or a patch that appears slightly darker than its neighbour. The instinct is to keep working until everything looks perfectly even.
This is where restraint becomes a technical skill.
Overworking the surface with a trowel after it has begun to dry can damage the breathable finish. It may create polished patches beside open-textured areas, leave visible trowel marks and interrupt the even drying of the coat. In some cases, it contributes to surface blistering.
The finish does not improve indefinitely with more pressure. Once the plaster has reached a particular stage, further manipulation can close the surface or disturb the material beneath it. The wall may look smoother for a moment, but its performance becomes less consistent.
A more reliable sequence
The aim is to work with the plaster’s setting window rather than against it:
- apply the coat evenly without repeatedly dragging the trowel across areas that have already begun to firm;
- correct major ridges while the material is workable;
- avoid polishing the surface simply to remove every variation;
- allow the finish to develop its intended texture;
- return later only for genuinely necessary repairs, not for nervous cosmetic adjustments.
This approach is especially useful in a gîte where guests will experience the wall at close range. A lime finish should feel considered, but it does not need to imitate plasterboard. Small changes in texture are part of a breathable mineral surface and often sit comfortably with reclaimed timber, stone floors and painted joinery.
The distinction is between a controlled finish and an overworked one. One reflects the character of the building; the other can show the hand of someone who kept correcting the wall after the material had stopped accepting correction.
Choosing authentic materials rather than convenient substitutes
Material sourcing is where many restoration projects lose their original logic. A bag from a large hardware store may carry the word lime, yet that does not make it suitable for every historic application.
Type-S hydrated dolomitic lime, for example, is commonly intended as a plasticiser within Portland cement mixes. Used on its own for outdoor historic parging or repointing, it may not withstand freeze-thaw cycles and weather exposure in the way a compatible heritage lime repair mortar should.
The label must be read in relation to the job. Interior skim, exterior render, joint repair and structural bedding are not interchangeable applications. The right product depends on the wall, the exposure and the finish required.
A sensible materials conversation should cover:
| Material question | Why it matters |
|---|---|
| Is the lime intended for heritage repair? | A general-purpose additive is not necessarily a complete exterior mortar or plaster system. |
| Is the application interior or exterior? | Weather exposure changes the demands placed on the cured finish. |
| What is the substrate? | Soft stone, hard stone, brick and previous lime coats absorb and move differently. |
| What aggregate will be used? | Sand affects texture, colour, shrinkage and drying behaviour. |
| How will joints be reinforced? | Where movement is expected, a compatible reinforcement may be needed rather than a rigid patch. |
| What is the curing plan? | The material requires protection and moisture management after application, not only careful mixing beforehand. |
Fibreglass mesh may be specified for certain joints or transitions, with a commonly cited reinforcement weight of 4.5 ounces for suitable applications. That does not mean mesh should be added everywhere as a universal cure for cracking. Reinforcement must be compatible with the repair and placed where movement or changes in substrate make it useful. A rigid intervention in the wrong location can create a new stress line beside the old one.
The same principle applies to paint. Synthetic coatings can undermine the breathability that the lime finish was chosen to provide in the first place. If the wall is intended to exchange moisture gradually, the final coating must not turn it into a sealed decorative panel.
A practical restoration rhythm for an old French property
For a small historic house, barn conversion or rural gîte, the most dependable process is not necessarily the fastest sequence. It is the one that leaves enough room for the wall to show what it needs.
Begin with the outside of the building as well as the inside. Check roof drainage, gutters, downpipes, splashback at the base and any area where soil or paving directs water towards the masonry. A beautifully mixed lime plaster will not solve a persistent water-entry problem.
Then remove incompatible loose finishes carefully and assess what remains. Avoid treating every irregularity as damage. Historic walls are often uneven because their construction is layered and local, not because they failed a modern flatness test.
Before the finish coat:
- clean and stabilise the substrate without unnecessarily stripping sound historic material;
- identify areas with different absorbency;
- dampen porous basecoats by misting;
- mix materials consistently across the work;
- choose a weather window that allows protected curing;
- plan for at least seven to ten days of careful moisture management;
- keep the surface away from severe drying conditions;
- stop trowelling once the plaster has passed its workable stage.
If the property is being prepared for a summer letting season, build this work into the calendar well before final decoration, furniture installation and photography. Lime plaster is not a last-minute backdrop. Its harvest window, if you like, is the period in which the material can cure properly before the room is put under pressure from heating, cooking and occupancy.
That planning also helps with colour. Lime finishes can change subtly as they carbonate and dry. A patch that looks acceptable on the first day may settle differently from an older section of wall. Allowing time before the final visual judgement is part of getting the finish right.
The best lime repair is quiet: it lets the wall dry, move and age without asking the masonry to carry the burden of a harder material.
What good work should look like after the tools are gone
Successful French lime plaster restoration does not necessarily produce a perfectly uniform surface. It should produce a wall that is stable, breathable and visually at home in the building.
You should be wary of a finish that appears sealed, glossy or unusually hard beside soft historic masonry. You should also be cautious of a contractor who treats the seven-to-ten-day curing period as an inconvenience rather than part of the specification. Timing is not an optional finishing detail; it is one of the conditions that determine whether the repair will hold.
The most useful test is not whether the wall looks immaculate on the day of completion. It is whether the materials are working together months and years later, through winter damp, summer heat and the ordinary changes of a lived-in rural property.
For a French country house or gîte, choose lime because it respects the building’s original moisture cycle, then protect that choice through suitable preparation, a compatible aggregate, patient curing and a light hand with the trowel. If there is one practical step to keep in your restoration notes, make it this: before ordering the finish, write down how the wall will be dampened, protected and monitored for the first seven to ten days. That small piece of planning often protects the much larger investment beneath it.