Limewash paint for historic stone walls: benefits and risks
Your neighbour's barn walls are flaking after three winters. The previous owner sealed them with acrylic emulsion and now the damp is pushing through the stone in white salt blooms, the paint is…
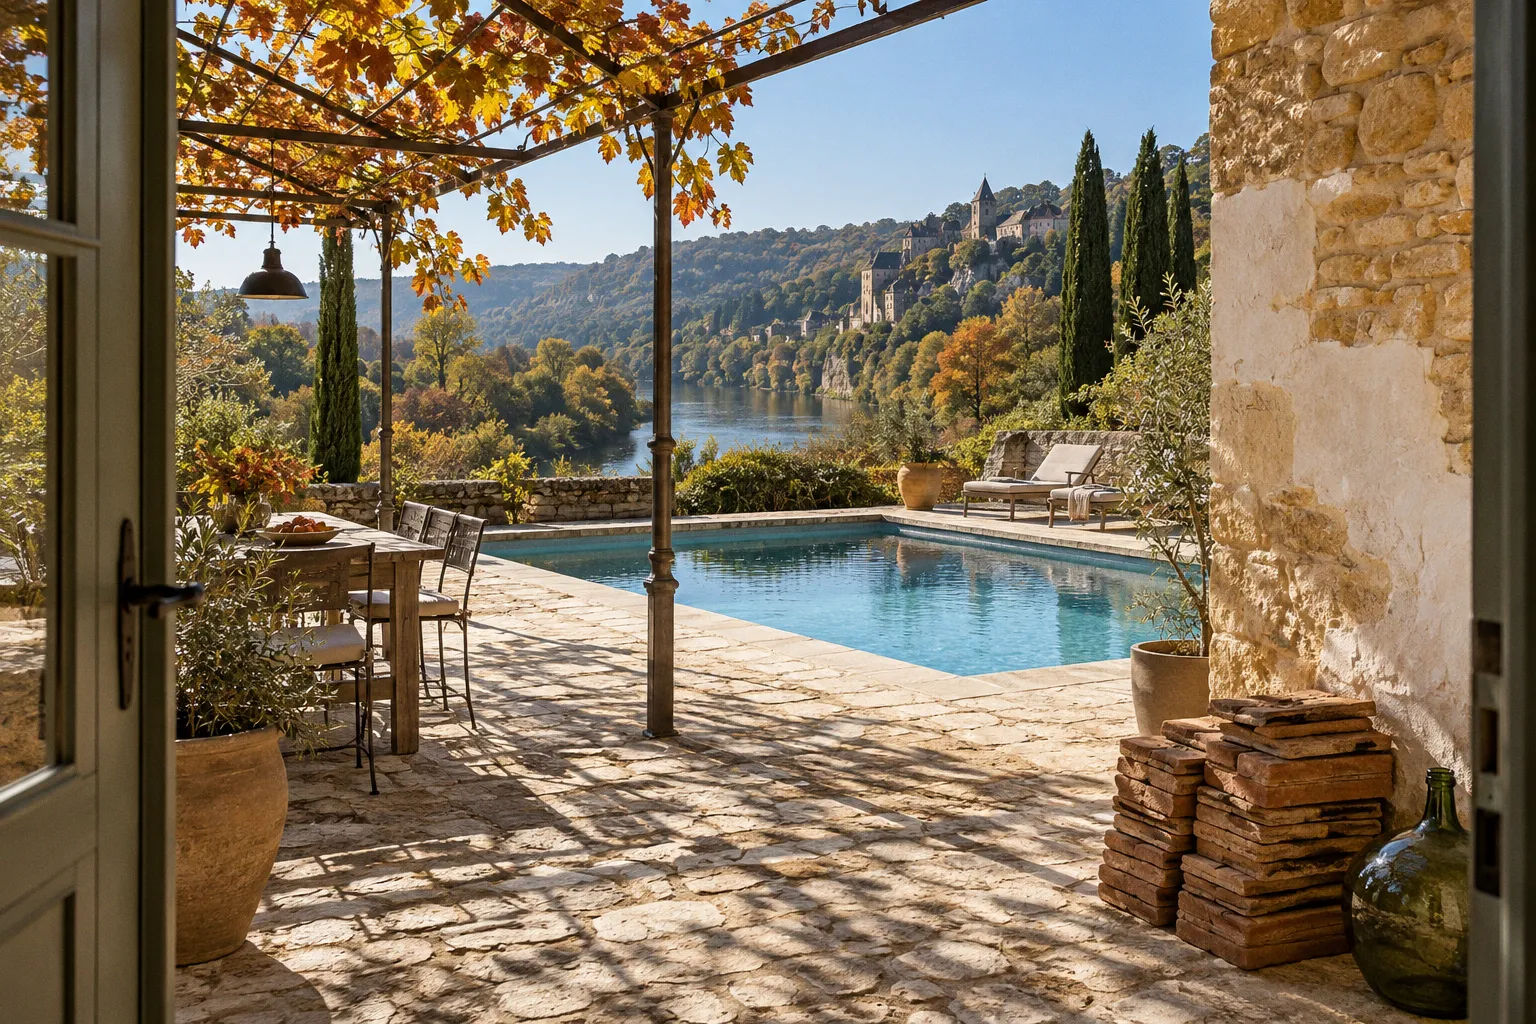
Your neighbour's barn walls are flaking after three winters. The previous owner sealed them with acrylic emulsion and now the damp is pushing through the stone in white salt blooms, the paint is peeling at the base of the wall, and the timbers above the window heads are starting to feel soft to the touch. It is a familiar story in any old Dordogne farmhouse, and the fix almost always begins the same way: strip the modern film, return to a breathable mineral coating. Limewash is the finish that porous stone was waiting for, but it asks a little more of you than a tin of emulsion ever did.
The Science of Carbonation: Why Traditional Lime Outperforms Modern Acrylics
Limewash is one of the oldest wall finishes still in use, and its chemistry is unusually simple. You start with slaked lime — calcium hydroxide suspended in water — and brush it onto a porous wall. Over the following days and weeks, the coating absorbs carbon dioxide from the air and slowly converts back into calcium carbonate. That is the same mineral as limestone, which is to say the finish is, chemically, stone again. It is not sitting on the wall as a separate layer so much as joining it, then becoming part of it.
This is the key difference from modern acrylic or vinyl emulsion paints, which form a continuous plastic film across the surface. Acrylic paint is engineered to be impermeable and uniform; it does its job by sealing the wall. Limewash does the opposite. It bonds into the pores of the masonry, lets the wall keep behaving like a piece of countryside geology, and hardens quietly in the background. You will notice the surface continue to firm up for several weeks after application, which is the carbonation doing its slow work. If you run a thumb across a freshly limewashed wall on day one, then again at three months, the difference in hardness tells the whole story.
Limewash does not seal a wall. It joins the wall, and over time, it becomes the wall.
Moisture Regulation and the Importance of Vapour Permeability
Old stone walls are not waterproof. They were never meant to be. A thick limestone or sandstone wall in a Dordogne barn will absorb a little moisture during a heavy rain and release it again over the following dry days. The wall is acting like a buffer, and that buffering is what keeps the interior dry and stable through the swing between August heat and January wet.
The technical term for this is vapour permeability, measured as an Sd value — the lower the number, the more freely moisture can pass through. Traditional limewash has an Sd value below 0.01 m, which means the coating is essentially as vapour-permeable as the bare stone beneath it. Standard acrylic emulsion paints sit above 1.0 m, effectively sealing the surface.
What happens when you seal an old solid wall? The moisture that used to evaporate through the paint surface now has nowhere to go. It migrates inward, where it condenses on cooler interior surfaces, or it pushes outward and lifts the paint film in blisters and flakes. Over several winters, the freeze-thaw cycles expand trapped water inside the stone itself, and you start to see spalling — thin plates of stone face popping off the wall. The same pressure travels up into the embedded timber lintels and floor joists, where it encourages wet rot. None of this is dramatic at first. It is just a soft patch on the wall, a musty smell in the bedroom, a paint bubble above the door frame. By the time it is dramatic, the repair is structural rather than cosmetic.
This is why anyone restoring a property with original stone is encouraged to treat the walls as breathing surfaces. Limewash lets them keep doing exactly that.
Natural Alkalinity as a Defence Against Mould and Structural Decay
Limewash has another quiet advantage that is easy to overlook in a colour chart: it is naturally alkaline, with a pH high enough to discourage fungal growth and bacterial colonisation. You will not need a separate anti-mould additive, because the finish itself is inhospitable to the organisms that cause black spots on bathroom walls and green blooms on north-facing renders.
Historically, this is why limewash was the finish of choice for stables, dairies, cellars, and kitchens. The Romans used it on cisterns for the same reason. The alkalinity sits at the surface for the first weeks and months of cure, then gradually settles as the carbonation completes and the pH drifts toward neutral. Even after that long transition, a well-bonded limewash remains less friendly to mould than a standard acrylic film, particularly in old properties with thicker walls and cooler interior temperatures where condensation lingers.
In a Dordogne climate, where summer humidity can climb and winter rains sit on north elevations for days at a stretch, this passive protection matters more than it does in a centrally heated new build. It is one of the reasons you still see limewashed outbuildings across the Périgord that look healthy after a hundred years of weathering — and one of the reasons a sealed acrylic wall in the same spot looks tired after ten.
Substrate Preparation: The Critical Role of Porosity and Dampening
The single biggest reason a limewash job fails is the wall it was brushed onto. Limewash needs an absorbent, porous substrate to bond with. Raw stone, lime plaster, lime render, earth-based plasters, and old previously limewashed surfaces all qualify. Water-repellent silicone sealers, glossy acrylic films, gypsum plaster, plywood, and cement-rich renders do not. If the wall cannot drink the limewash, the limewash cannot join the wall.
If your walls have already been painted in modern emulsion, you have a decision to make before you can limewash. The acrylic has to come off, at least in any area where it is sound enough to trap moisture behind it. This is rarely the fun part of a restoration. Options include careful scraping and wire-brushing for small areas, hot air guns for stubborn patches, and professional soda-blasting or gentle sandblasting for whole barn interiors. Chemical strippers generally work poorly on mineral substrates, and aggressive blasting can pit soft historic stone, so the choice of method is itself a judgement call. Budget a day for testing a small patch before committing to a whole room.
Once you are back to bare porous masonry, the next step is the one most DIYers skip. You need to dampen the wall before you brush on the limewash. Mist the surface with clean water and let it soak in for fifteen or twenty minutes. The stone should be damp but not running; you are aiming for a surface that feels cool and slightly moist to the back of your hand. If you apply limewash to a bone-dry wall, the masonry sucks the water out of the coat almost instantly, the carbonation cannot complete properly, and you are left with a dusty, chalking finish that rubs off on your sleeve within a season. Dampening slows that initial absorption just enough to let the lime set up correctly.
The mistake is almost never the limewash. The mistake is the substrate you tried to put it on.
Mastering the Application: Achieving the Signature Patina with Block Brushes
The technique itself is short, but rhythm matters. Plan on two to three thin coats rather than one thick one. Thin each coat with clean water until it is the consistency of single cream — it should run off the brush easily but not drip down the wall in runs. Use a proper limewash block brush, which is a large, soft-bristled brush designed to push the lime into the pores of the stone. Rollers and standard synthetic brushes sit on the surface; a block brush works the coating in.
Brush in a loose criss-cross, or X pattern, rather than long vertical strokes. The criss-cross distributes the lime evenly across the uneven face of old stone and gives you the soft mottled patina that is the whole point of the finish. Let each coat dry for at least four hours before applying the next; in damp or cold weather, give it longer. Do not try to back-roll or over-work a wet coat to fix a thin patch — wait, and lay another thin coat on top.
| Parameter | Limewash on historic stone | Standard acrylic emulsion |
|---|---|---|
| Vapour permeability (Sd value) | Below 0.01 m | Above 1.0 m |
| Bond with substrate | Mineral bond via carbonation | Surface film adhesion |
| Behaviour on wet masonry | Breathes, allows drying | Traps moisture, causes spalling |
| Anti-fungal protection | Natural high alkalinity | Requires chemical additive |
| Finish uniformity | Soft patina, natural variation | Uniform flat colour |
| Washability | Low — not scrubbable | High — wipeable |
| Maintenance cycle | Periodic re-coating | Long, then full strip |
The patina is worth pausing on. A limewashed wall is not supposed to look like a freshly painted bathroom. The colour shifts subtly across the surface, deeper in the recesses and lighter on the raised stone, and that variation is what makes old Dordogne interiors feel calm rather than clinical. If you want a flat, even colour, limewash is the wrong product. If you want a wall that looks like it has always been there, it is exactly right. Pigments can be folded into the wash for tinted finishes — soft ochres, terre verte greens, warm putty shades, charcoal washes for darker accent walls — but the rule is the same: thin coats, block brush, and accept the variation.
Common Pitfalls and Honest Caveats
Limewash is not a miracle product, and it is worth naming the trade-offs plainly.
It is not scrubbable. A modern acrylic kitchen wall can be wiped down with a damp cloth; a limewashed wall cannot. In high-traffic splash zones behind a sink or around a cooktop, either seal the limewash with a compatible breathable mineral topcoat or accept the gentle patina of use as part of the look. It needs periodic re-coating on exposed exterior elevations — the exact cycle depends on the wall's exposure to rain and sun, so there is no single number to quote. Think of it the way you think of treating a wooden shutter: an occasional weekend of maintenance, not a one-time fix.
Be careful what you buy. Not every product labelled "lime paint" in a decorator's catalogue is genuine limewash. Some are acrylics with a small percentage of lime added for marketing. Read the technical data sheet. Real limewash lists slaked lime and water, and that is close to all there is. If the data sheet mentions acrylic, vinyl, or any polymer binder, put it back on the shelf.
Winter application has its own rules. The coating needs to cure above freezing for the first few weeks, and heavy rain within the first twenty-four hours can wash a fresh coat back off the wall. Plan exterior work for the settled spells of late spring and early autumn, and leave winter for interior projects where temperature and humidity can be held steady. Direct sun on a hot July afternoon is almost as bad — the coat dries too fast to carbonate properly and you end up with the same chalking problem as a dry substrate.
Choosing Limewash in a Dordogne Restoration
If you are working on a farmhouse, a converted barn, or any of the old stone outbuildings that dot the valley, the case for limewash is not nostalgic. It is a practical response to how the building was constructed in the first place. The walls were built to be wet, to dry, and to do both without complaint. The finish you put on top of them either respects that rhythm or fights it, and the ones that fight it always lose in the end.
Start with a small test panel in a corner that catches the light. Watch how the colour sits on the stone at different times of day. Try a tinted version against the raw cream. Get comfortable with the brush and the rhythm of the criss-cross stroke. By the second coat you will understand why the finish has survived a thousand years of French building practice — and you will probably wonder why anyone ever coated these walls in plastic in the first place.