Terracotta floor tiles: maintenance tips for historic farmhouses
Terracotta floor tiles can look dull long before they are worn out. A grey cast, darkened grout or a pale ring from a damp pot may point not to age, but to the way the floor has been cleaned, sealed or left to dry.
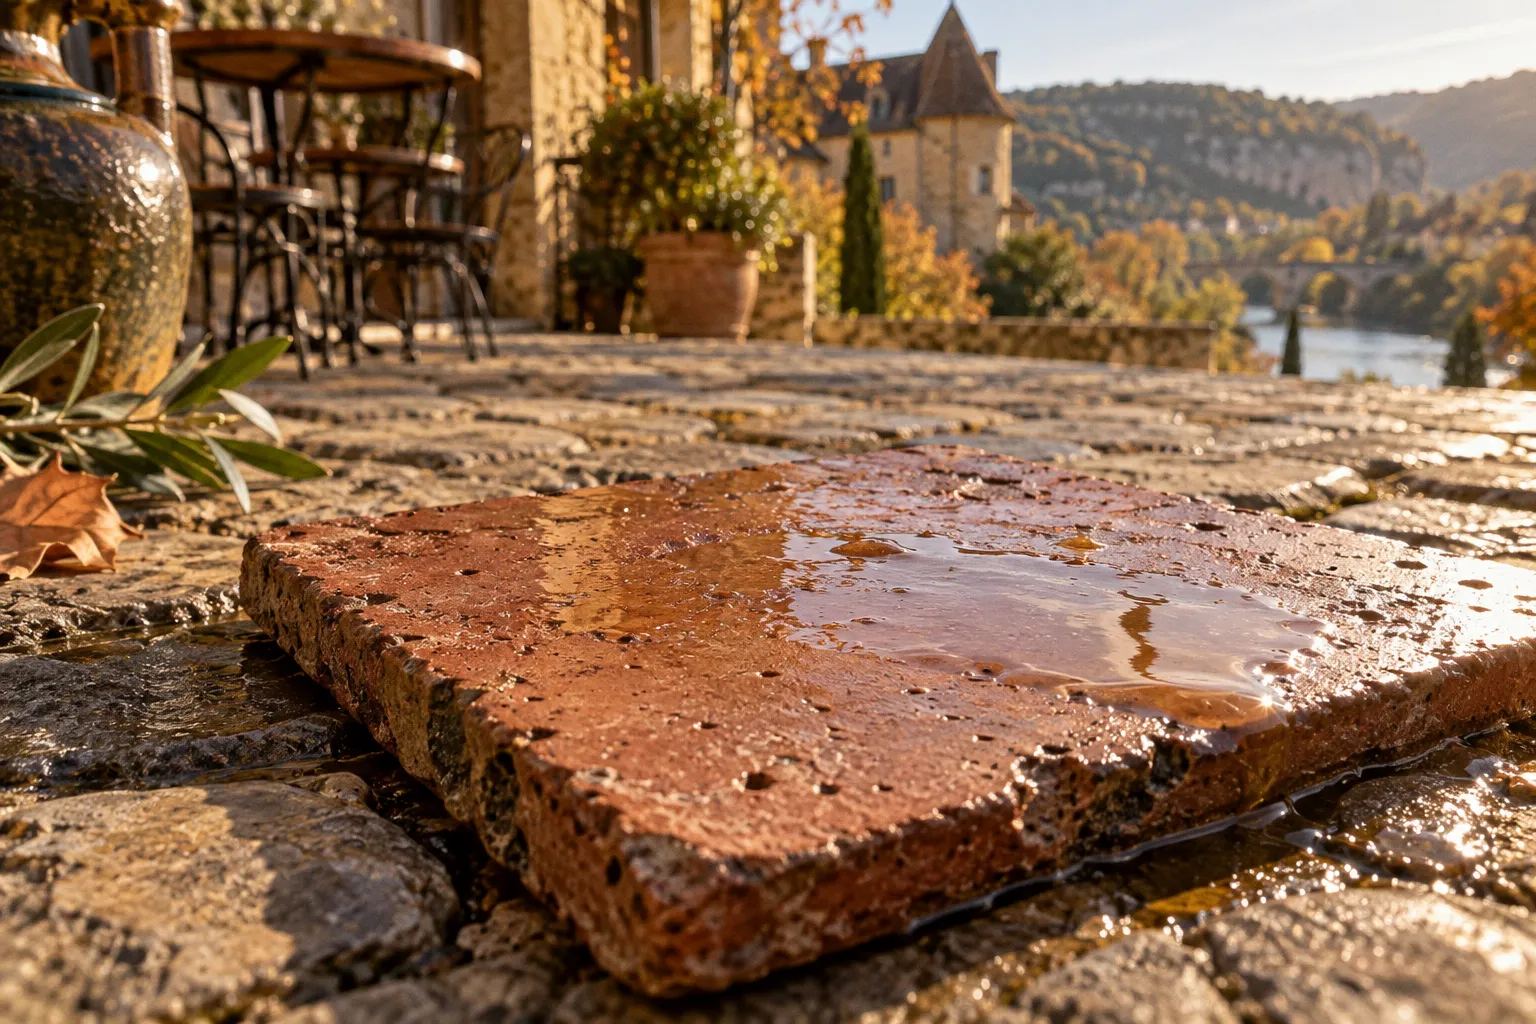
The most common mistake is treating old tomettes like modern ceramic: reaching for a strong cleaner, using too much water, and expecting the surface to behave as if it were impermeable.
Traditional terracotta is porous. That quality gives an old farmhouse floor its particular warmth and uneven character, but it also means spills and cleaning products can enter the tile rather than sit neatly on top. Good terracotta floor tiles maintenance in old French farmhouses starts with understanding that porosity, then choosing methods that protect the clay without trapping moisture or building up a slick film.
Understanding the Porosity of Traditional Tomettes
Modern porcelain is fired until its surface is dense and highly resistant to water. Traditional tomettes are different: their clay remains absorbent, with tiny pores that can take in liquid. A spill of wine or oil may begin to darken a tile before there is time to fetch a cloth. A wet cast-iron pan left on the floor can leave a mark as moisture and residue move into the surface.
That porosity is not a defect to be eliminated. It is part of the material, and it explains why an old terracotta floor responds badly to some familiar cleaning habits. Too much water can linger in the tile or beneath it. Harsh cleaners can strip the finish, while some sealers form a film that interferes with the floor’s ability to release moisture.
The visible results are often mistaken for inevitable wear: cloudy patches, pale deposits or dark grout edges. Sometimes the floor is simply dirty or unevenly sealed. Sometimes moisture is moving through the structure. The right treatment depends on which problem is present; adding another coat of sealer to a damp floor, for example, can make matters worse rather than better.
A simple water test can offer a first clue. Put a few drops in an inconspicuous spot and watch what happens. If they bead, a surface treatment may still be present. If the tile darkens as it absorbs the water, the finish may be worn or absent. This is not a complete diagnosis: hidden damp, old wax or a patchy coating can complicate the result. But it is a useful reason to pause before applying a new product across the whole room.
A tomette floor needs protection, but it also needs to release moisture. A treatment that closes the surface too completely can create a new problem while hiding the old one.
The Essential Pre-Grouting Sealing Technique
When installing reclaimed tomettes or repairing a section of floor, the order of work matters. Raw terracotta can absorb pigment from wet grout. Once that colour has entered the tile, wiping the surface may not remove the resulting shadow around the joints.
For that reason, tiles are commonly given a suitable pre-seal before grouting. The aim is to reduce absorption at the tile face while leaving the joints clear enough for the grout to bond. Follow the sealer manufacturer’s instructions: products differ, and not every treatment is compatible with every grout or with a historic floor.
A sound sequence is:
1. Lay the tiles on a stable base and allow the bedding material to dry fully. Drying time varies with the depth of the bed, ventilation and conditions on site.
2. Check that the tile faces are clean and dry. Dust, residue or damp beneath a sealer can affect the finish.
3. Apply the recommended pre-grout treatment sparingly to the tile faces, taking care not to flood the joints.
4. Allow the treatment to dry or cure for the period specified for that product.
5. Grout carefully, removing residue from the tile surface before it sets.
6. Once the grout has cured, apply any further treatment recommended for the tiles and the grout as a whole.
The traditional practice of sealing before grouting is especially useful with absorbent, unglazed clay. It is not a licence to use any oil or coating at any stage: an unsuitable or over-applied product can interfere with grout adhesion or leave a sticky surface. Test a small area and confirm compatibility before treating a full room.
If grout staining is already present, aggressive scrubbing is rarely a safe first move. A hard brush or acidic cleaner may damage the tile while leaving pigment embedded in it. Identify whether the mark is grout residue on the surface or colour absorbed into the clay. The former may respond to careful, product-specific cleaning; the latter can be difficult to reverse without specialist restoration.
Traditional Methods for Sealing Raw Clay Tiles
Historic floors have been treated in different ways over time. Linseed oil, waxes and other traditional finishes can deepen the colour and reduce how quickly a tile absorbs spills. Modern products may also be suitable, but they are not interchangeable: some penetrate, some leave a surface film, and some are intended only for particular types of terracotta.
A linseed-oil treatment is often discussed as a traditional option, sometimes diluted with turpentine or another solvent to help it spread. That recipe should not be treated as a universal formula. The condition and absorbency of the tile, the presence of older coatings and the product’s instructions all matter. Solvents also require careful handling, good ventilation and attention to the manufacturer’s safety guidance.
Before sealing an entire floor, inspect it closely. Look for pale deposits, dark damp-looking areas, flaking finishes and patches that feel tacky. If moisture is entering from below or the floor has not dried after washing, sealing should wait. A coating cannot solve rising damp or a problem with the structure; it may instead impede evaporation and contribute to further damage.
For a floor that is clean, sound and dry, a small test patch is the safest way to judge a treatment. Check how much the tile darkens, whether the surface remains tacky, and how the finish looks once dry. Apply thinly and remove excess according to the product directions. Too much oil or sealer on the surface can cure unevenly, collect dirt or leave a shiny, artificial-looking film.
Choosing among the best products for historic floor tiles depends less on a claim of universal suitability than on what the floor is made of and what has already been applied to it. A breathable treatment may be preferable where moisture movement is a concern, but “breathable” on a label does not replace an assessment of the floor. For valuable, very old or badly stained tomettes, advice from a conservator or a tradesperson experienced with historic clay floors is worth seeking before stripping or recoating.
Routine Cleaning Protocols for Historic Floors
Once the surface is stable and appropriately treated, routine care can be simple. The main aim is to remove grit before it scratches the floor and to clean with as little water as the job requires.
- Sweep or vacuum first. Use a soft brush attachment and avoid a rotating beater bar, which may be too abrasive for an old surface. Fine grit underfoot acts like sandpaper.
- Use a well-wrung mop. A damp mop is usually enough for ordinary dirt. The floor should not be left wet or covered with puddles.
- Choose a cleaner made for the finish. A pH-neutral product is often a sensible starting point, but compatibility matters: a cleaner suitable for sealed tile may not be right for unsealed clay or an old wax finish. Test it in a discreet place.
- Treat spills promptly. Blot liquid rather than rubbing it into the pores. Follow with a small amount of clean water if needed, then dry the area.
- Use maintenance soap sparingly. Linseed-oil soap can suit some floors, but frequent or heavy use may leave a build-up. Follow the label and watch for a dull, greasy or slippery film.
The right cleaning rhythm depends on the room. A kitchen with frequent foot traffic and cooking spills needs more attention than a quiet bedroom, but neither benefits from repeated soaking. Dry sweeping can be frequent; wet cleaning should be reserved for when the floor needs it.
For removing stains from French terracotta, start with the least aggressive method. Blot fresh oil or wine, lift loose dirt with a soft cloth, and avoid rubbing in circles with an abrasive pad. A mark that remains after the surface is clean may have entered the clay or may be connected to an older coating. Trying several cleaners in succession can make that patch harder to understand and may enlarge the damaged area. Test any stain treatment out of sight and follow its instructions.
Strong acids, bleach, abrasive scourers and general-purpose degreasers can all cause trouble. Acids may attack grout or alter a finish; bleach and harsh alkalis can discolour or dull the surface. A product marketed for limescale is not automatically suitable for terracotta. When in doubt, leave the stronger cleaner on the shelf until you know what is on the floor.
Common Maintenance Mistakes to Avoid
Most avoidable damage comes from using the wrong method with good intentions.
Flooding the floor. Water is useful for cleaning, but standing water can penetrate porous tiles and joints. Use a well-wrung mop, work in manageable sections and dry lingering wet patches.
Applying a sealer to a damp or dirty surface. A coating can trap moisture or lock in grime. Let the floor dry thoroughly after cleaning, and investigate persistent damp before sealing.
Assuming every old finish is the same. Terracotta may have been treated with oil, wax, a modern coating or several layers of products over the years. A new treatment can react poorly with what is already there. Test first, and seek specialist advice if the finish is uncertain.
Scrubbing with metal or hard abrasives. Steel wool and scouring pads can scratch soft clay and leave marks that are more conspicuous than the stain. Start with a soft brush and a compatible cleaner.
Trying to restore uniform colour. Historic tomettes often vary in tone and wear. Stripping the surface to make every tile match can remove the character of the floor, and may not produce an even result. Restoration should address actual damage, not erase every trace of age.
Walking on a fresh treatment too soon. Respect the curing time on the product label. Dust, shoes and furniture can mark a finish before it has hardened; some treatments also need ventilation while they cure.
The aim is not to make old terracotta look new. It is to keep the surface clean, sound and able to age without being smothered by layers of unnecessary treatment.
The most useful terracotta floor restoration tips are often the least dramatic: identify what is already on the tile, establish whether it is dry, clean gently and make changes on a test patch before committing to the whole room. If the floor has persistent white deposits, soft or crumbling grout, a tacky coating or damp that keeps returning, do not cover the evidence with another sealer. Those signs call for a closer look at the source of the problem.
A well-kept tomette floor does not need to be polished into sameness. Regular dry cleaning, careful use of water and a treatment suited to the specific clay and existing finish will preserve both its practical surface and its particular variations. For a historic farmhouse, that is a better measure of success than a spotless floor that can no longer breathe.